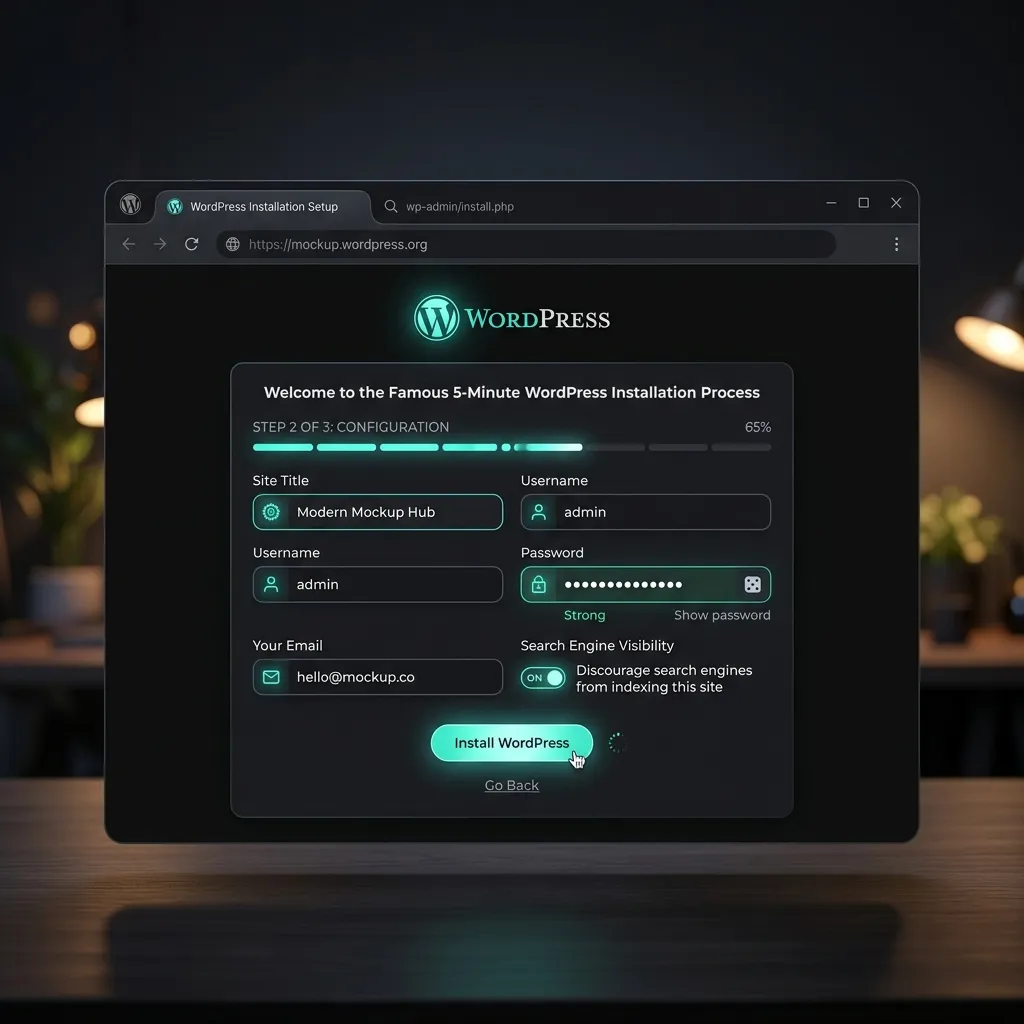
The Complete Guide to Installing WordPress on Ubuntu 24.04 LTS

Setting up WordPress on a blank Ubuntu server is a foundational skill for modern web administration. If you are accustomed to JavaScript-based stacks, deploying WordPress requires a mental shift to the LAMP stack: Linux, Apache, MySQL, and PHP.
Instead of writing custom routing logic, Apache handles the web serving and request routing. Instead of a NoSQL database, you will use MySQL, a highly structured relational database.
This guide provides a top-to-bottom, hierarchical walkthrough to architect your WordPress environment properly, ensuring it is secure, performant, and scalable.

Table of Contents
- Step 1: Update Server Packages
- Step 2: Install Apache Web Server
- Step 3: Install and Secure MySQL
- Step 4: Create a Dedicated WordPress Database
- Step 5: Install PHP and Required Extensions
- Step 6: Download and Configure WordPress Core
- Step 7: Configure Apache Virtual Hosts
- Step 8: Finalize via the Web Interface
Prerequisites
Before beginning, ensure you have the following:
- An Ubuntu Server instance (24.04 LTS is recommended).
- SSH access to the server.
- A non-root user account with
sudoprivileges. - A registered domain name pointed to your server’s public IP address.

Step 1: Update Server Packages
Always begin by synchronizing your local package index with the upstream repositories and upgrading existing packages. This ensures you are installing the latest, most secure versions of the software.
sudo apt update
sudo apt upgrade -y
Step 2: Install Apache Web Server
Apache is the HTTP server that will process incoming requests and serve your WordPress files to users.
Install the Apache package:
sudo apt install apache2 -yVerify that Apache is running: You should see an “active (running)” status. Press q to exit the status screen.
sudo systemctl status apache2Step 3: Install and Secure MySQL
WordPress requires a relational database to store posts, user data, and site configurations.
Install the MySQL server:
sudo apt install mysql-server -yRun the security script: This locks down default vulnerabilities. Follow the prompts to set up the Validate Password Plugin, remove anonymous users, disallow remote root login, and drop the test database.
sudo mysql_secure_installationStep 4: Create a Dedicated WordPress Database
For security reasons, WordPress should not use the root database user. We will create a dedicated database and a user with strictly scoped privileges.

Log into the MySQL console:
sudo mysqlCreate the database:
CREATE DATABASE wordpress_db DEFAULT CHARACTER SET utf8 COLLATE utf8_unicode_ci;Create a dedicated user and assign a strong password:
CREATE USER 'wp_user'@'localhost' IDENTIFIED BY 'YourStrongPasswordHere';Grant the user full privileges on the new database:
GRANT ALL ON wordpress_db.* TO 'wp_user'@'localhost';Flush privileges and exit:
FLUSH PRIVILEGES;
EXIT;
Step 5: Install PHP and Required Extensions
Apache serves HTML, but WordPress is written in PHP. We need to install PHP along with specific extensions that allow it to communicate with MySQL and handle graphics and files.
Install PHP and modules:
sudo apt install php libapache2-mod-php php-mysql php-curl php-gd php-mbstring php-xml php-xmlrpc php-soap php-intl php-zip -yRestart Apache to load the new PHP module:
sudo systemctl restart apache2Step 6: Download and Configure WordPress Core
We will now pull the latest WordPress architecture directly from the official source.
Navigate to the temporary directory and download WordPress:
cd /tmp
wget https://wordpress.org/latest.tar.gz
Extract the archive:
tar xzvf latest.tar.gzCopy the extracted files to Apache’s document root:
sudo cp -a /tmp/wordpress/. /var/www/wordpressAssign ownership to the Apache web user: This allows WordPress to modify its own files, which is essential for plugin installations and updates.
sudo chown -R www-data:www-data /var/www/wordpressStep 7: Configure Apache Virtual Hosts
A Virtual Host file tells Apache how to handle requests for your specific domain or IP address and points it to the correct directory.
Create a new configuration file:
sudo nano /etc/apache2/sites-available/wordpress.confPaste the following configuration: Be sure to replace your_domain_or_IP appropriately. Save and exit (Ctrl+O, Enter, Ctrl+X).
<VirtualHost *:80>
    ServerAdmin webmaster@localhost
    DocumentRoot /var/www/wordpress
    ServerName your_domain_or_IP

    <Directory /var/www/wordpress/>
        AllowOverride All
        Require all granted
    </Directory>

    ErrorLog ${APACHE_LOG_DIR}/error.log
    CustomLog ${APACHE_LOG_DIR}/access.log combined
</VirtualHost>
Enable the new site and the Apache rewrite module:
sudo a2ensite wordpress.conf
sudo a2enmod rewrite
Disable the default Apache site and restart the service:
sudo a2dissite 000-default.conf
sudo systemctl restart apache2
Step 8: Finalize via the Web Interface
Your server architecture is now complete. The final steps happen in the browser.
- Open your web browser and navigate to your server’s IP address or domain name.
- Select your language on the WordPress setup wizard and click Continue.
- Enter the database details you configured in Step 4 (Database Name:
wordpress_db, Username:wp_user, Password:YourStrongPasswordHere, Database Host:localhost). - Run the installation, create your administrative user, and log in to your new dashboard.